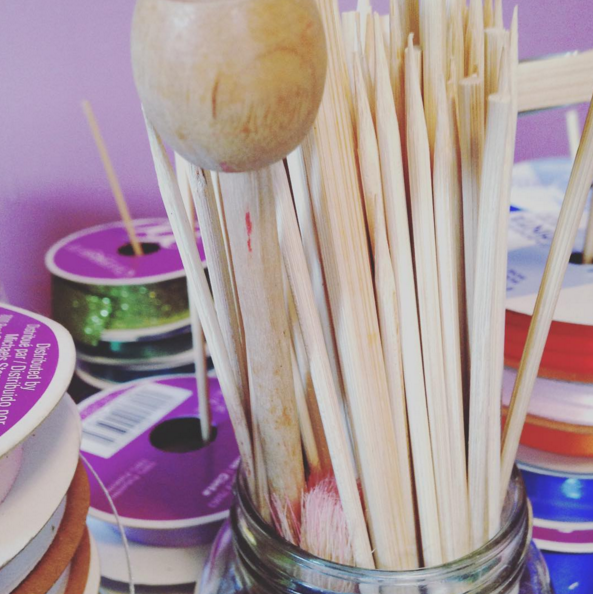
It’s no wonder that the upcycle materials for our first products are found in the kitchen! We love food and its always been a central gathering space in our home.
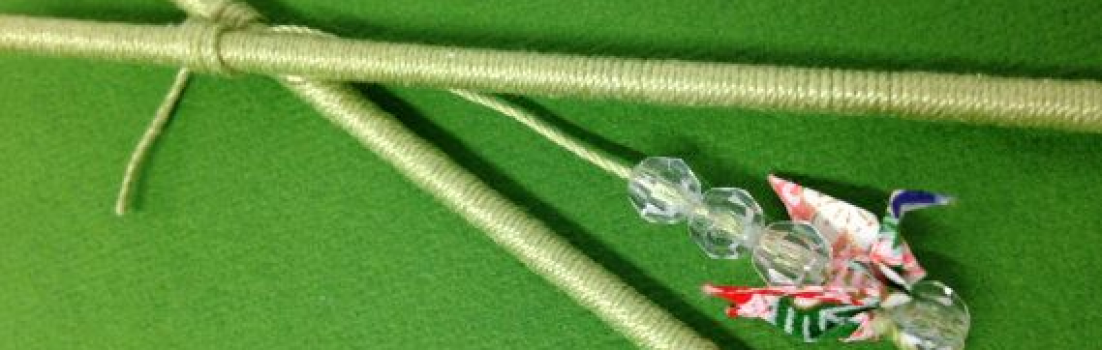
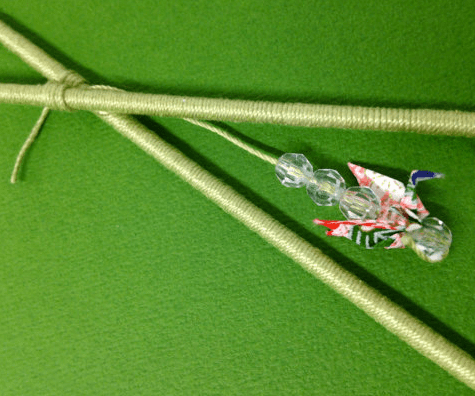
We take skewers from shish kabob to the bejeweled garden where they are transformed into glittering stems for our Japanese Origami Paper Crane Bouquets. The pointed end is perfect for placing paper cranes to create a magical dazzling bouquet that is both stylish and eco-friendly.
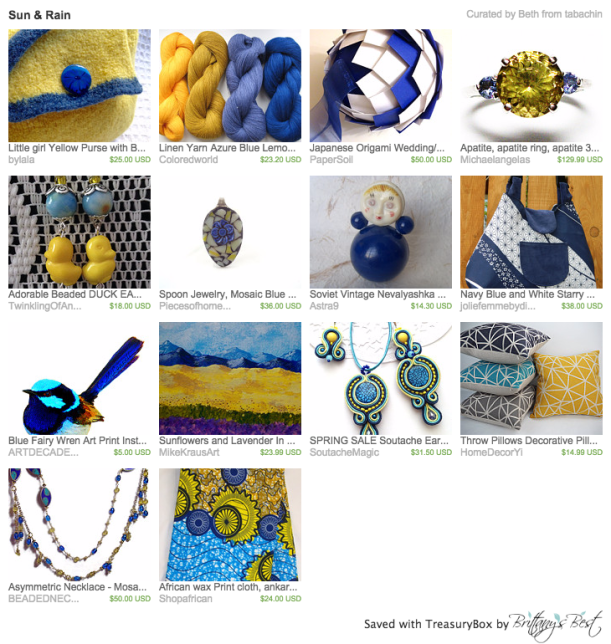
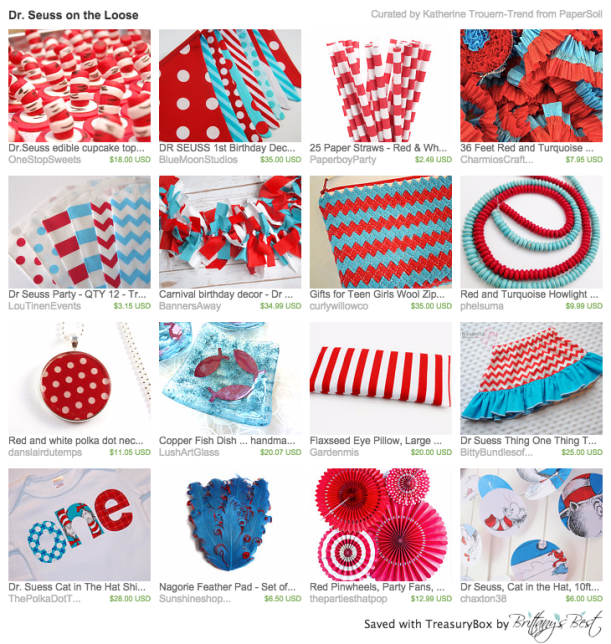
To celebrate, I’m getting creative with colors, characters and all things Etsy! Enjoy this very Seussical themed treasury and of course don’t forget to read something silly and wonderfully inspiring today!
“You have brains in your head. You have feet in your shoes. You can steer yourself, any direction you choose.”
“Today is your day! Your mountain is waiting. So…get on your way.”
“Think left and think right and think low and think high. Oh, the things you can think up if only you try.” “And will you succeed? Yes, indeed, yes indeed! Ninety-eight and three-quarters percent guaranteed.”
Your wedding can be magical, artistic, creative, and unforgettable with a few changes to the traditional elements.
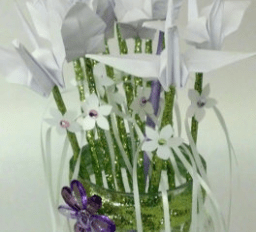
Bouquets – Think of your flowers as a work of art, an everlasting garden filled with delicate petals, flowing ribbons, dazzling wonder! Your flowers stay fresh and bright throughout the day and for years to come, a unique souvenir for the bride and groom. Your bridesmaids each receive a handcrafted bouquet of paper flowers, jewels and ribbons to carry down the aisle, turning heads and captivating guests with wonder and delight, flowers that bloom with love, art, life! Your bouquets double as bridesmaid gifts, as a thank you and souvenir of your unforgettable wedding that everybody will be talking about.
Dare to be different and make a statement with a unique twist on wedding flowers! Now through December 3, use coupon code CYBER15 at Paper Soil for 20% off all our wedding bouquets including our wedding packages! That’s a steal!
You will see a theme on our Pinterest boards beyond images of ecochic upcycled creativity. Each of our boards has a quote as the cover image! As a librarian by day, I know the value of words to add meaning and help reveal pieces of a story.
Here are some of the quotes that help tell the Paper Soil story:
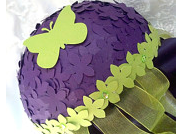
One of our newer designs is the Japanese Origami Wedding/Holiday Ball. There are many steps that go into creating this beautiful minimalistic piece. We take a lot of care and time to ensure our product is consistent and well made.
The process begins with preparation of cardstock. We have selected a deep rich mediterranean blue and bright white cardstock for our piece that is featured here. We begin with a 12″ X 12″, 80 lb. sheet of cardstock. We cut 2″ X 12″ inch strips. Then from these, we continue to cut the paper into 2″ X 2″ squares. Each piece of cardstock renders 36, 2″ X 2″ squares. For each Origami Ball, we need 96-100 of these squares.
The next step is measuring and marking the squares for an even fold. Each square is measured and marked at the top center of the square at 1″. Using a our favorite bone folder, each square is folded at the top into an even triangle shape. The total time required to neatly cut, measure and fold one sheet of cardstock is 20 minutes.
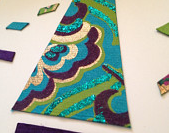
Next we use size 17 Bridal and Lace Pins to secure the cardstock pieces to a 6″ foam ball. To begin, we take four blue cardstock pieces and pin the top point and two bottom corners of each piece to the top of the foam ball. We apply even pressure using our fingers and secure the pins by pressing them firmly with the top of our craft scissors. In the event that a piece is not well aligned with the other pieces or looks askew, we take out the pins and realign the cardstock piece.
Cardstock pieces alternating in two rows of white and blue are then secured to the foam ball with two pins at the bottom corners of each cardstock piece. When the rows reach the base of the Origami Ball, we repeat the initial process of selecting four blue cardstock pieces and pin the top point and two bottom corners of each piece to the bottom of the foam ball. A final row of blue cardstock pieces encircle the bottom of the ball, secured in the opposite direction, with the points facing downward.
When the cardstock pieces have all been secured, a 16″ length of 2″ sheer blue ribbon is secured with pins and glue to the top of the Origami Ball.
The total time required to secure the cardstock pieces and ribbon to the foam ball is 1 hour and 15 minutes.
Below is a collection of images from different stages of the process.


